
近年学びたい言語と話題が出ているGo言語について勉強しようと思い、インストールすることになりましたので、環境構築をご紹介します。
開発環境
開発環境はこちらの表で用意しました。
MacでもLinuxでも同様にインストールできるようです。
(Go言語、エディタは2020/5/12時点の最新version)
| OS | Windows10 64bit |
|---|---|
| Go言語 version | 1.14.2 |
| エディタ | Visual Studio Code 64bit 1.45.0 |
Go言語 インストール
それでは、Go言語をインストールしていきましょう。
まずはGo言語のインストーラをダウンロードします。
コチラのサイトから、赤枠のMicrosoft Windows用のインストーラをダウンロードします。

ダウンロードが完了したら、ファイルをダブルクリックします。
ファイル名「go1.14.2.windows-amd64.msi」
※ verなど、多少異なっていても問題ありません。
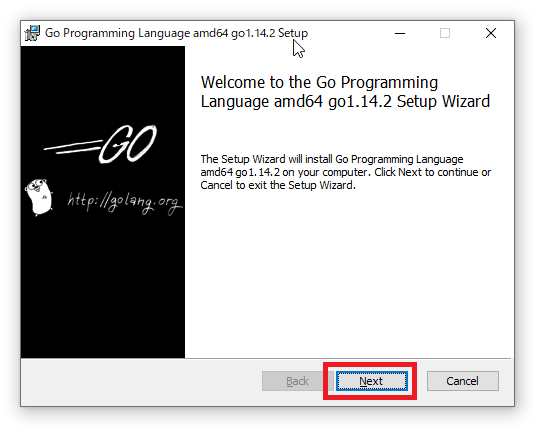
画面の「Next」をクリックします。
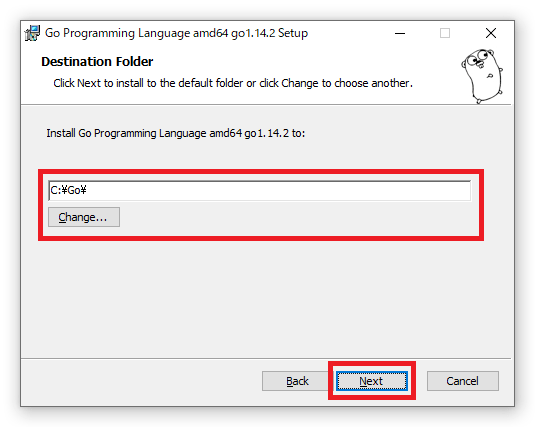
そのまま続けていけば、インストールできますが、
インストール先をデフォルトから変えたい場合、赤枠のパスを変更してください。
インストールが無事に終わったら、正常に入っていることを確認するため、コマンドプロンプトを起動します。
「go version」と入力し、現在インストールされているversionの確認ができました。
go version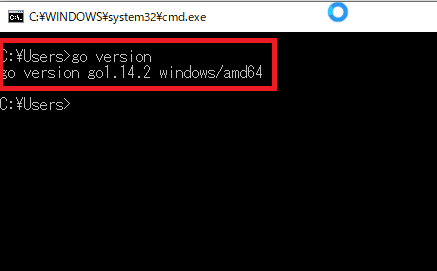
Visual Studio Codeのインストール
VSCodeのインストールについては、こちらで紹介をさせていただいてますので、良かったら確認してみてください。
本記事では省略させていただきますが、もしインストールする場合は日本語の拡張機能も合わせて設定しておいた方が良いです。そちらも記事で触れています。

Visual Studio Codeに拡張機能をインストール
Go言語開発のためにいくつか拡張機能をインストールしておきます。
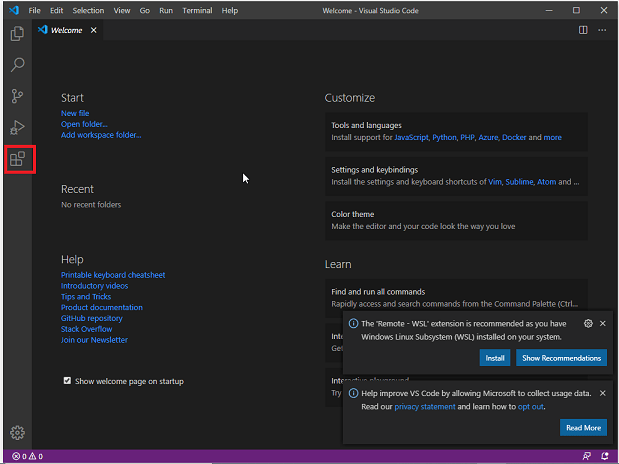
まずはVisual Studio Codeを開いてみましょう。
左側のアクティビティバーにある、赤枠、拡張機能をクリックします。
日本語化 [Japanese Language Pack for Visual Studio Code]
まずは、日本語化の拡張機能を入れていきましょう。
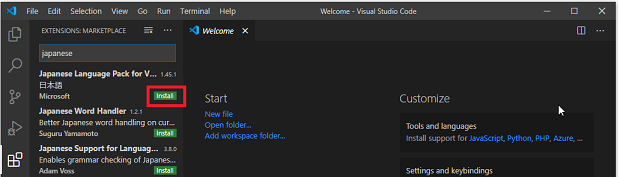
「Marketplace」に「Japanese」と入力してください。
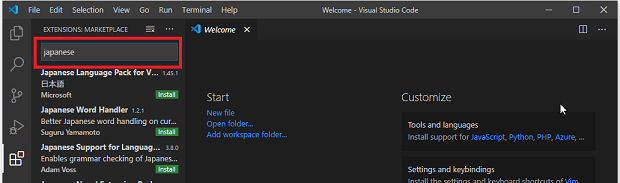
すると、「Japanese Language Pack for Visual Studio Code」が出てきますので、インストールを行ってください。
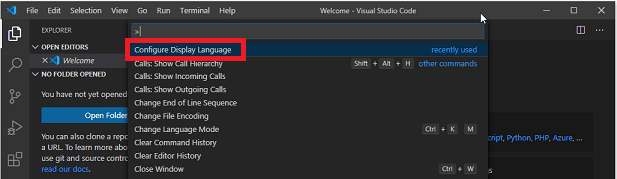
locale.jsonで日本語に設定します。
「Ctrl」+「Shift」+「P」でコマンドパレットを起動し、
「configure」と入力します。
「Configure Display Language」と出てくるので、クリックします。
「ja」(japanese)をクリックします。
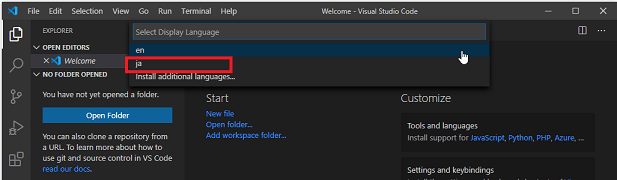
再起動するか確認するメッセージボックスが出ますので、「Restart」をクリックしてください。
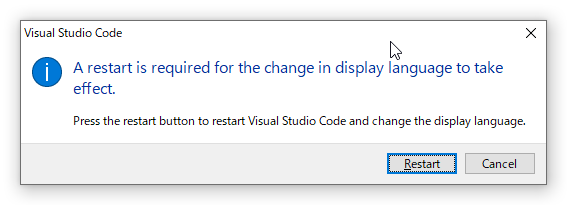
これで日本語化の完了です。
Go言語 [Go]
Visual Studio CodeでGo言語を開発するための拡張機能をインストールします。
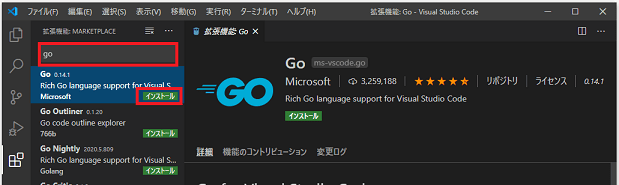
先ほどと同じように左側のアクティビティバーから、拡張機能をクリックします。
「Marketplace」に「Go」と入力し、「インストール」をクリックします。
Go言語 [更新パッケージ]
続いて、Go言語の更新パッケージをインストールします。
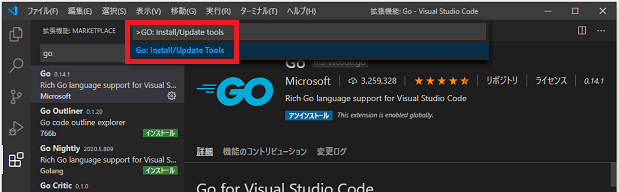
「Ctrl」+「Shift」+「P」でコマンドパレットを起動し、
「GO: Install/Update tools」と入力します。
全ての項目にチェックをつけ、「OK」をクリックします。
※ 赤枠の上のチェックボックスをクリックすると、全チェックになります。
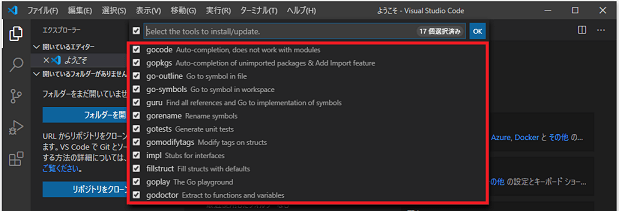
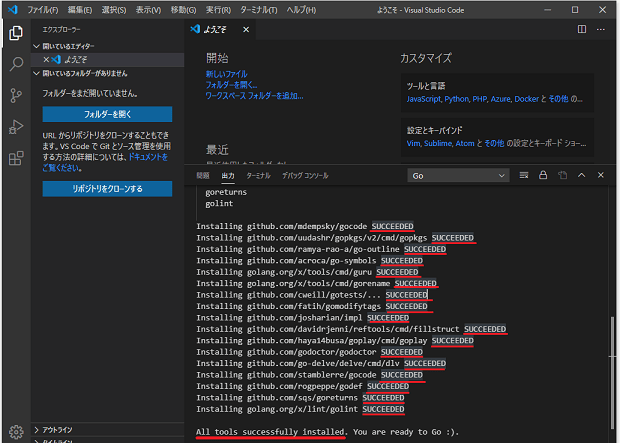
少し待つと、赤線のように「All tools successfully installed.」と出力されたら完了です。
これでデバッグ等もできるようになりました。
まとめ
これでGo言語開発に伴う環境構築が終わりました。